7 Common Soldering Mistakes and How to Fix Them
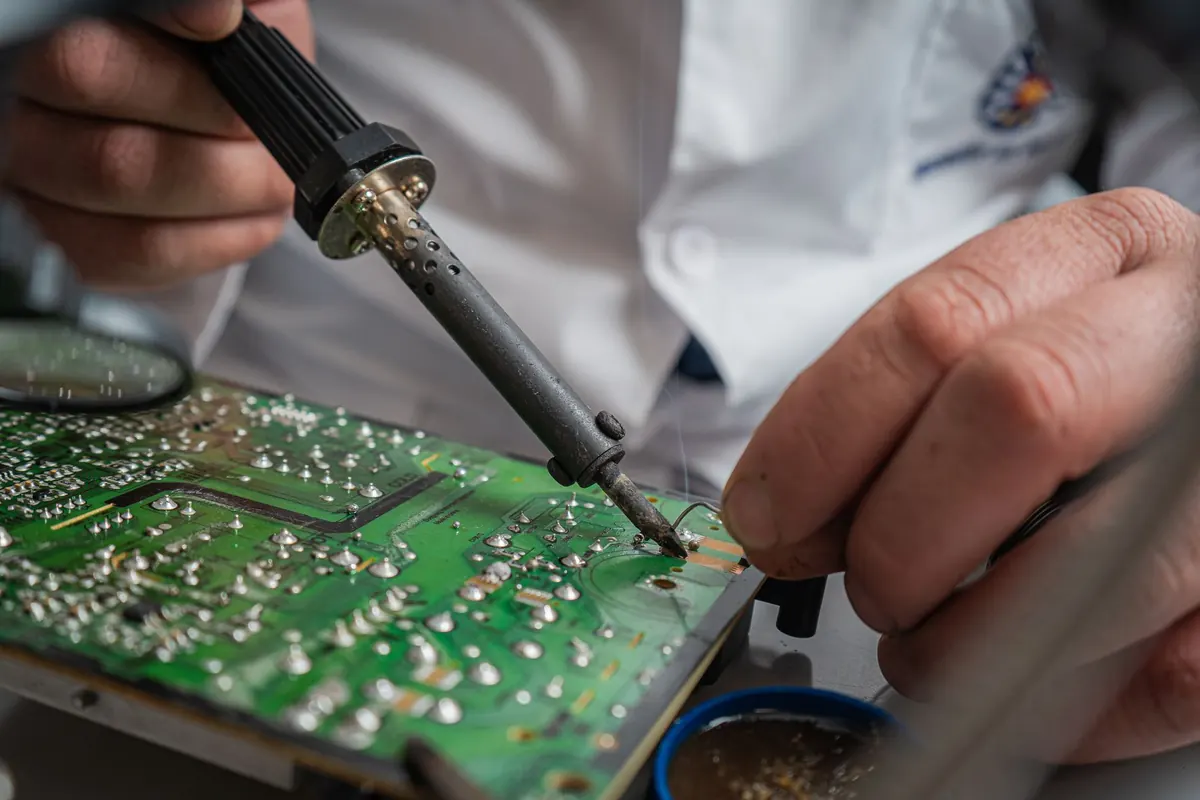
Every bad solder joint has a signature. A dull grey blob that looks like it never quite melted. A bridge between two pins you only notice after the board is screwed into the enclosure. A pad that peels up the moment your iron touches it. None of these are mysterious failures. They come from a handful of habits, and most of them can be fixed in under a minute once you know what you are looking at.
1. Cold Joints: Dull, Grainy, Unreliable
A proper joint is shiny, smooth, and forms a small concave fillet between the pad and the lead. A cold joint is matte and grainy, often sitting in a ball on top of the pad instead of flowing onto it. The solder never reached full liquidus temperature, or the parts moved while it was freezing.
The causes are predictable: an iron set too low, a tip that is oxidized and cannot transfer heat, touching the iron to the solder instead of to the joint, or jostling the component before the solder sets.
The repair is usually quick. Add a little flux to the joint, then press the tip against both the pad and the lead at the same time. Feed in a small amount of fresh solder to create a heat bridge. The joint should go glossy within a second or two. Hold the part still while it cools. Fresh solder plus flux reflows most cold joints without removing anything.
One thing worth knowing: a cold joint can pass a continuity test when the board is cold and fail intermittently once it warms up and expands. If a device works for two minutes and then cuts out, cold joints are a prime suspect.
2. Solder Bridges
A bridge is exactly what it sounds like: solder connecting two pads that should not be connected. On through-hole work it usually happens between adjacent pins on a header. On surface-mount work it happens constantly on fine-pitch ICs, where a fleck of solder the size of a grain of sand shorts two legs.
Bridges rarely need a full desoldering job. Flux and wick handle most of them:
- Apply flux generously over the bridged pins. Flux is what makes the solder want to move.
- Lay a short length of desoldering braid over the bridge and press the iron down on top of it.
- Hold for one or two seconds. The solder wicks up into the braid.
- Lift the braid and iron together, then inspect the pads. Repeat with a fresh section of braid if needed.
For very fine pitch, skip the braid. Flood the pins with flux, then drag a clean, barely tinned tip across them in one steady motion away from the IC body. Surface tension pulls the excess solder onto the tip and leaves the pins separated.
3. Excess Solder
Too much solder causes more problems than it solves. It hides bridges underneath components, makes domed joints that stress pads when the board flexes, and bulks up pads so much that a rework later becomes difficult.
The mistake behind it is nearly always the same: feeding solder into the tip of the iron rather than into the joint. Solder should flow into the heated pad and lead, not be deposited like paint. A good through-hole joint looks like a tiny volcano — a concave fillet that lets you see the outline of the pad and the shape of the lead passing through it.
If a joint is already overfilled, touch a clean tip or a piece of braid to one side and let it draw off the excess. Do not try to flick it away, and do not keep adding solder to "fix" a joint; that only makes the problem bigger.
4. Lifted Pads
A lifted pad is the most frustrating mistake on this list because it is often permanent. The copper has separated from the board substrate, usually because heat was applied too long, or because a component was pulled while the solder was still solid.
Before you touch anything, stop and assess. If the pad is still partially attached, press it gently back into place with a wooden stick or ceramic tool and secure it with a small drop of two-part epoxy. Let it cure fully before soldering. The joint will still conduct through whatever copper remains.
If the pad is gone, do not give up on the board. Find where that net goes — a via, a nearby component leg, or an exposed trace — and run a thin jumper wire, 30 AWG enameled or wire-wrap wire works well. Tin both ends, solder one end to the trace or via, route the wire with a little slack, and solder the other end to the component lead. A short jumper is a legitimate repair, not a hack.
Single and double-sided boards tolerate this well. On a multilayer board with inner-layer connections, damage is riskier. If you are unsure, check the schematic for another accessible point on the same net before you commit.
5. Overheating Components and Boards
Heat damage announces itself in stages: flux residue turning dark brown, the green solder mask losing its shine, FR4 substrate browning, plastic connectors and switch bodies softening and shifting, and finally components failing outright. Electrolytic capacitors and small plastic-bodied parts are the first to suffer.
The counterintuitive fix is more power, not less. A temperature-controlled station set to roughly 315–340°C for leaded solder and 350–370°C for lead-free transfers heat fast, so the joint is done in a second or two. A weak unregulated iron forces you to sit on the joint for ten seconds, which is what actually cooks the board.
Use the largest tip that fits the work, keep contact time short, and give the board a few seconds to cool between joints. On heat-sensitive parts, clip a small heat sink or hold the lead with metal tweezers to pull heat away.
6. Habits That Prevent Most of These
Almost every problem above traces back to a few basics:
- Keep the tip tinned and clean. Wipe it on brass wool before every joint, and re-tin it with a touch of solder afterward.
- Use flux, and use more than you think you need for rework. Clean it off when you are done.
- Heat the joint, not the solder. Touch the tip to pad and lead simultaneously.
- Let joints cool undisturbed. Do not blow on them.
- Practice on scrap boards. Pull a dead router or old toy apart and desolder every component on it. That is the cheapest soldering class you will ever take.
When to Step Away
If you have reworked the same joint three times and it still looks wrong, stop. Let it cool completely, clean the area with isopropyl alcohol, and look at it under magnification before you try again. Reheating a joint repeatedly while it is still hot is how cold joints become lifted pads, and lifted pads become jumper wires.
Most soldering failures are not skill problems. They are heat, flux, and patience problems — and all three are easy to correct on the next joint.
Photo: Maikol Herrera / Pexels